

Touch-Up Paint

Touch-up paint: It isn’t just about keeping your finish pristine. It can also prevent tiny rock chips from turning into massive rust spots; but there is an art to this delicate job as Dan Maffett is about to show us on MotorWeek’s “Your Drive.”
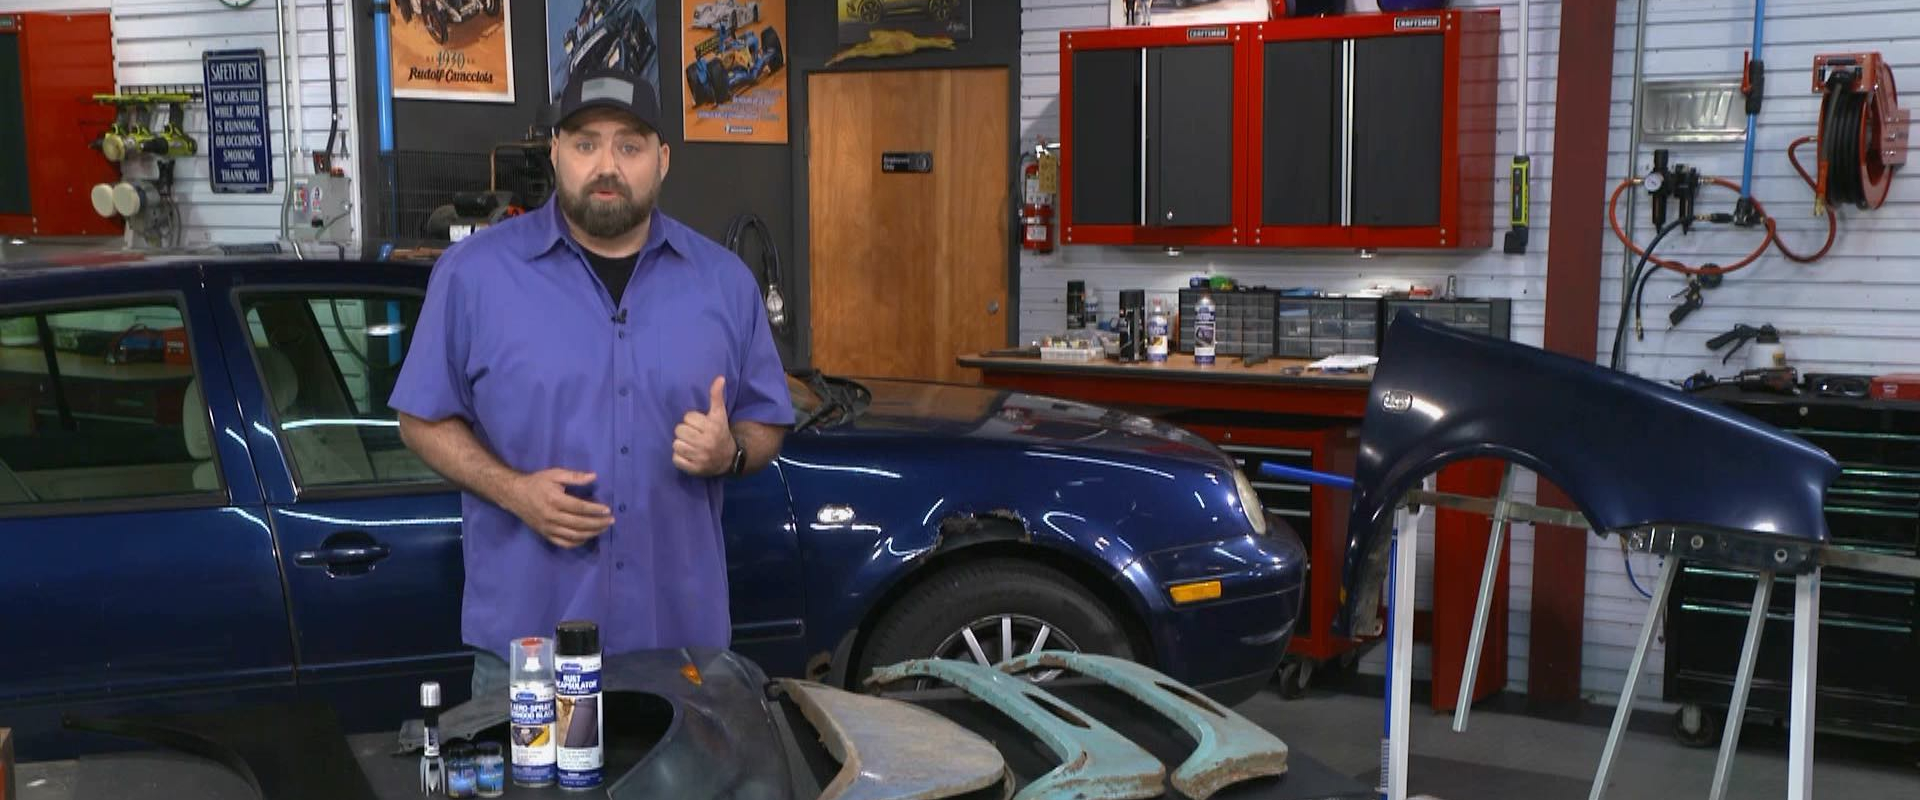
DAN MAFFETT: No matter what car you drive, if you have it long enough, eventually you’re going to have to deal with dings, dents, scratches or even rust. Now, there’s plenty of ways to go about fixing it. Most people are going to jump to a body shop, but that can be thousands of dollars. You can get replacement panels like this, or patch panels, but they’re all going to need to be color-matched. You can find junk yards that have some old stuff for you, but they’re going to be pretty banged up. Now, we got lucky, a quick search on the internet, we found a scrap yard that had this exact year, make and model, same paint color. So, we were able to get the fender for a fraction of the cost and with a little bit of touch-up paint it’s going to be brand new.
Now, we’re at the fender with our touchup pen. Now, not all touchup pens are created equal. I always try to get one that has this nib on the front. A lot of people don’t realize that this is a sander. So, to start, you want to go through each one of these little nicks that we have and use this sander to smooth out the edges of the paint so there’s nothing sharp, and it’s going to give a nice surface for this touch up paint to flow into and stick. So, that’s what we’re going to start with.


Now, it might not feel like it’s doing much, but that is a very aggressive grit. One important thing to note is that you’re not trying to dig any paint out. You really just want to focus on smoothing the edges so that nothing is sharp. A lot of people use this and just go to town and it creates way more damage than what was there.
So, once you’ve gone through and you’ve sanded out your edges, there’s two applicators. There’s a pen tip, which is a very fine tip, and then there’s a brush tip inside. We’re going to start with the pen tip on some of these smaller spots, and just flood it in with some paint, move to the next spot.
Just do a little bit at a time. Move around a little bit so it can set up. You can always go back and clean it up. Now when you get to a bigger area like this, I like to step it up to the brush just to have a little bit more control of the flow. Now I like to put it on a little bit thicker than you normally would, but that allows you to go back and cut and buff it down a little bit and help that blend. Now I’m going to let these all tack up, and then go back again and make sure we don’t have any holes anywhere.
So, once you’ve got your touch-up paint on, and it’s cured for a good amount of time, you want to go back with a top coat. Now, these pens, on the opposite side, have a top coat applicator. And just like before, you want to just drag it across your touchups, and that’s going to add just a nice layer of protection against UV and just seal those little touchups in. Now, it’s ok if it looks a little bit blobby. You can go back with some wet sanding, smooth it out. Speaking about paint and buffing, we’re going to take this, buff it, get it to match the luster of this car behind us, and then we’re going to put it on, swap out that rusty one.
Now, as always, if you have any questions or comments, hit us up right here, at MotorWeek.