Seat Repair
Okay, here’s the scenario: You’ve just picked up that new project in need of some interior restoration, or you’re just looking to give some new life to the seats in that trusty commuter. Either way, why replace when you can repair? That’s what Dan Maffett is asking, and answering.
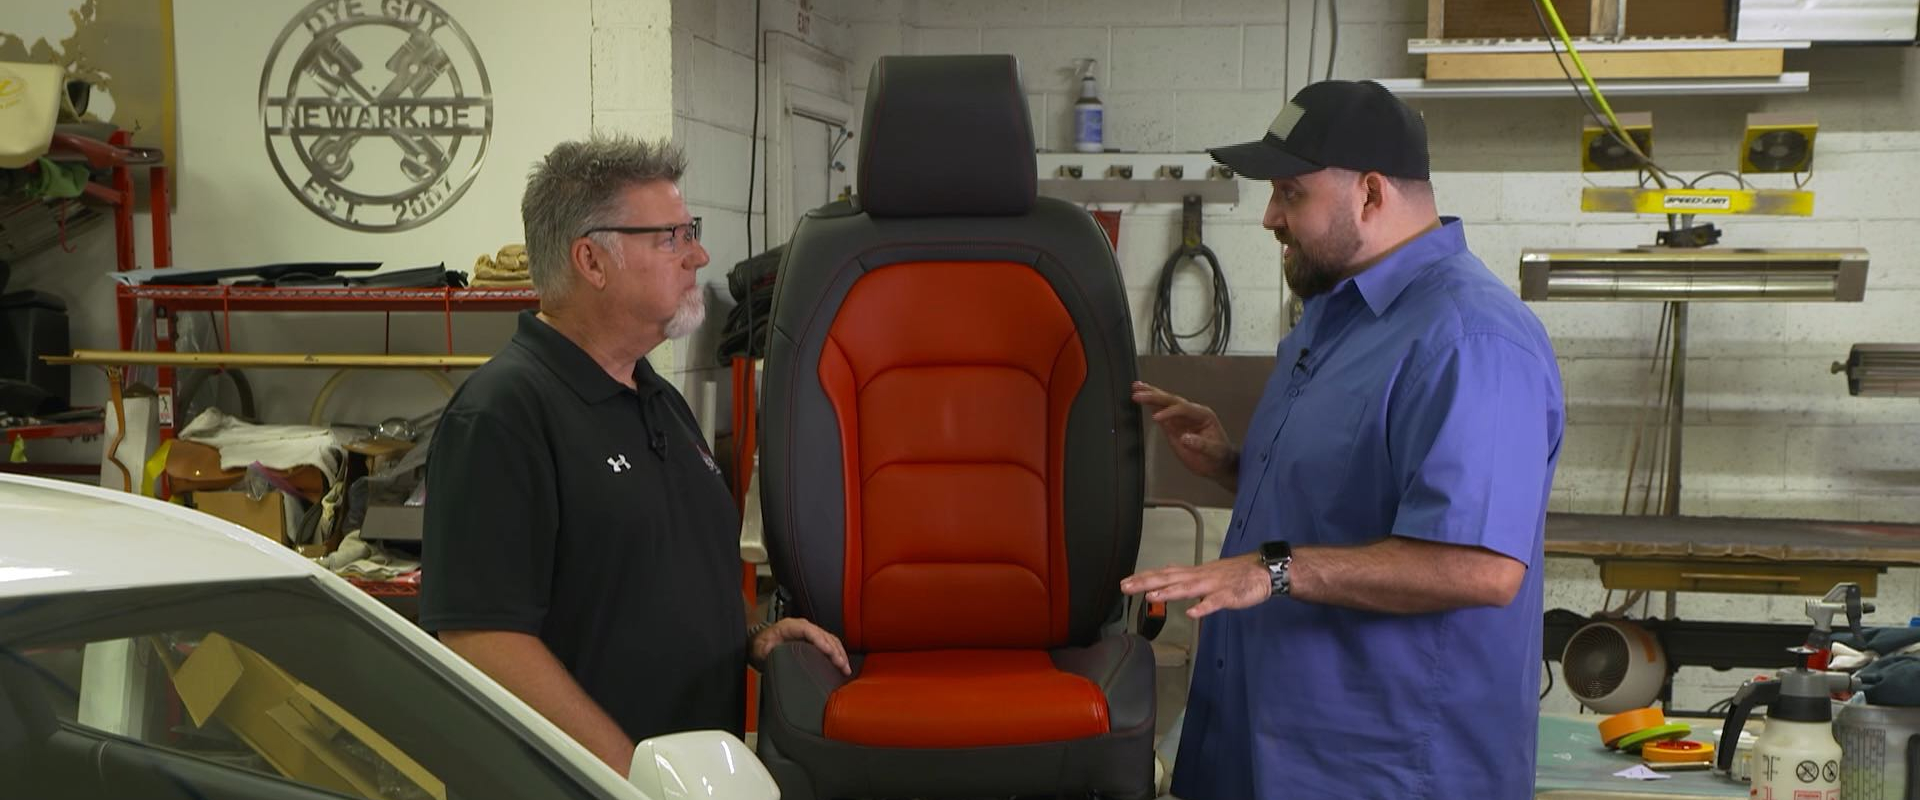
DAN MAFFETT: There’s nothing worse than sliding in or out of your car seat just to realize something in your pocket caught the seat and tore a hole. Now, we have a seat here that we pulled out of this Camaro, and it’s got a couple punctures, a couple tears in it. Some of these are best left to professionals, and I have one with me today. This is Steve, The Dye Guy himself.”
STEVE CHOPKO: Hi Dan. Welcome to the shop.
DAN MAFFETT: Thanks, man. How are you?
STEVE CHOPKO: Good.
DAN MAFFETT: Take a look at this and tell me, what are the steps to fix this?

STEVE CHOPKO: This happens to be a ventilated, heated and air conditioned seat, so we can’t go underneath of it and disrupt the fans and the electrics and all what’s underneath the perforations. So, we’re going to have to do a superficial repair from the top with some leather compounds and fills that will flex and dry properly.
But before we do that, we’ll have to thoroughly clean the seat, get rid of all the dirt, and the oils and the black.
DAN MAFFETT: Alright, so stage one is complete. The seat is completely cleaned. And I notice that it’s actually got, like, a satin look to it right now.
STEVE CHOPKO: A satin look or, as we like to call it, the OEM finish.
DAN MAFFETT: Okay. So, what’s the next step?
STEVE CHOPKO: The next step is, we’re going to do a little drying on the repair, on the damage. Then we’re going to use some flexible fillers that are made exclusively for leather.
DAN MAFFETT: So now I see you’ve got the first round of compound done, you’ve got it sanded. What’s the next step?
STEVE CHOPKO: So, the next step is, then we’re going to put a finishing compound or a light fill, and we can sand it more, we can feather it more, and then we’ll start putting the holes back in it. So, we might have to do this a couple times, but this is the third step before, or the last step before the color.
DAN MAFFETT: Awesome. Let’s get to it.
STEVE CHOPKO: I want to make sure that everything is flat, make a nice repair, so we’ll go a little more aggressive, a little faster.
Contrary to belief, you can sand leather, just like wood. That was 220 grit sandpaper– a used piece. That’s good. We’ll smooth out some of the edges; we’ll do one more fill.
DAN MAFFETT: Looks like we’ve gotten a lot of progress going on here. Explain where we’re at right now.
STEVE CHOPKO: We’ve done the last top fill…
DAN MAFFETT: Right.
STEVE CHOPKO: …we’ve added the holes back, we’ve cleaned up the holes the best we can. You can feel a little… maybe we can kind of make that up with some color…
DAN MAFFETT: Yeah.
STEVE CHOPKO: And so, we’re going to tape off the black, tape off the back, do the primer, do the color.
DAN MAFFETT: Okay.
Wow, if I hadn’t watched you do this process, I would’ve assumed you replaced all the material. I mean, I think the tear was somewhere in this middle spot.
STEVE CHOPKO: No, all we did was a repair, and it’s a great alternative to replacement.
DAN MAFFETT: Man, that’s incredible. I can’t thank you enough for having us and showing us this awesome skill. Now guys, as always, if you have any questions or comments, hit us up right here, at MotorWeek.


