

Rattle Can Paint Job

You probably imagine a booth, flashy tools and years of experience when it comes to respraying car parts, but, our Dan Maffett is here to show us how high quality canned spray paint can produce high quality results on MotorWeek’s “Your Drive.”
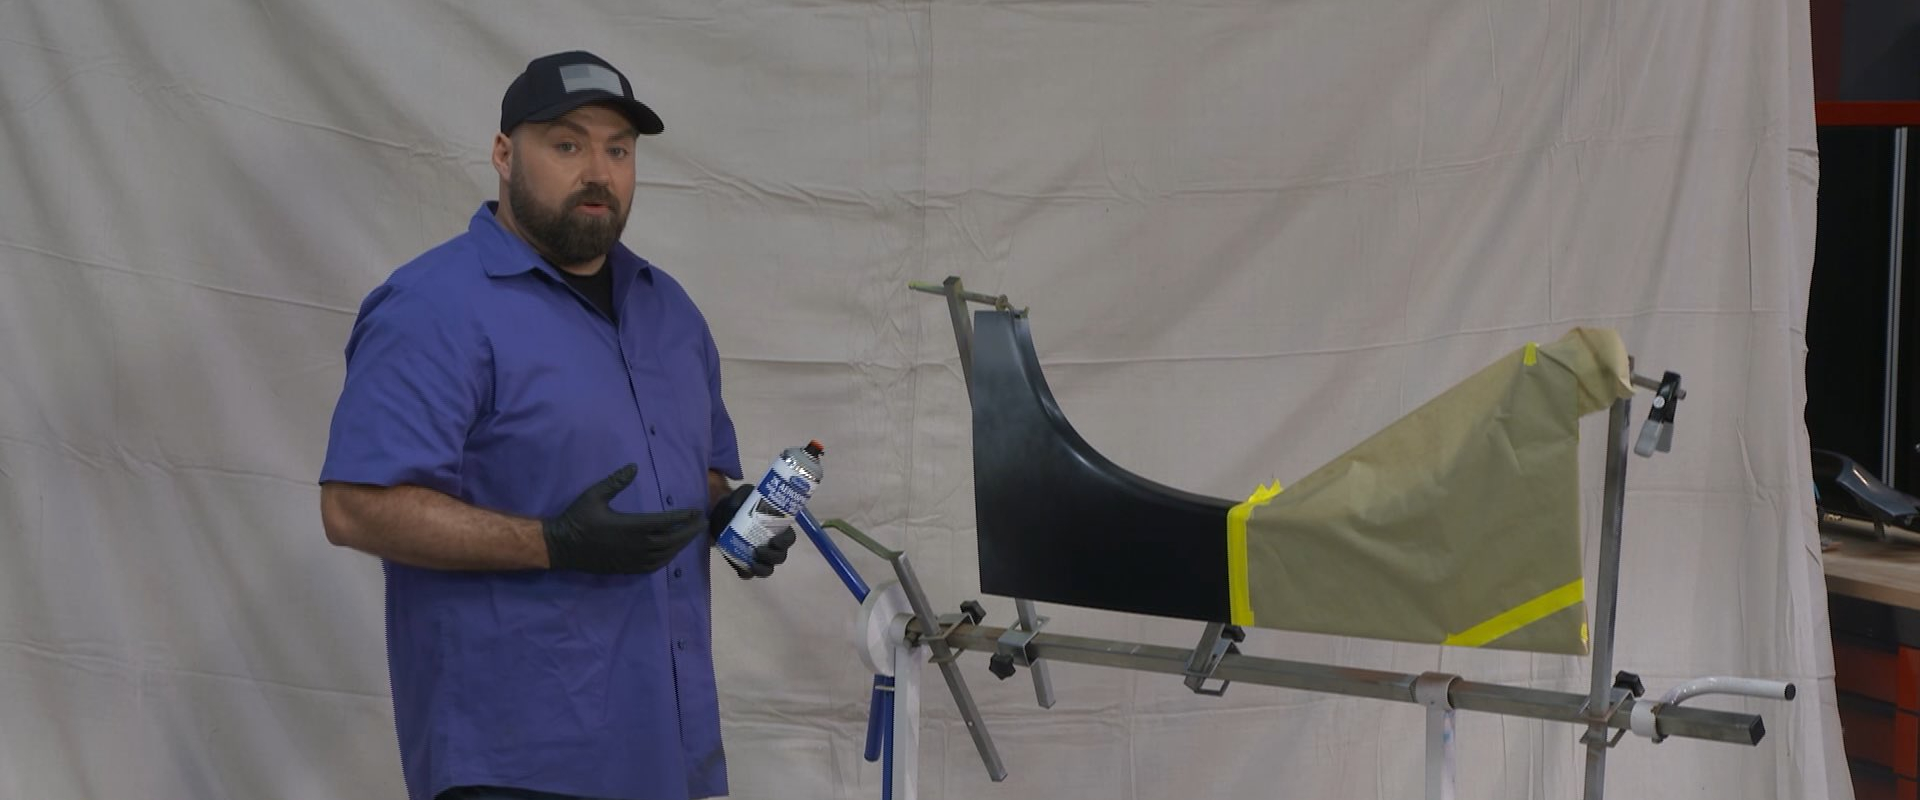
DAN MAFFETT: If you’re anything like me, you love driving your vehicles. The only downside to driving all the time is the wear and tear on that vehicle. Now, the paint is no exception to wear and tear. And one of the common questions I get is “can I paint a vehicle at home with rattle cans?” Now, the answer is yes. It’s a loaded answer, but yes you can.
First thing you need to know is that not all spray paint cans are the same. And we have a hardware store one here that’s a single stage that we sprayed this fender with, and got a really professional result. Now, your environment really has to be kind of perfect for that: You want to avoid bugs, orange peel, humidity, things like this.

Now, on the other end of this table we have a 2k professional line of paint. Now, you can get this color-matched to your vehicle, and there’s actually a punch on the bottom that releases an activator in the can. So, you get very professional results that are going to last a very long time. But, if your budget doesn’t allow for that or you’re a little too intimidated for that, a hardware store paint like this is going to do just fine as long as your prep and techniques are on point.
You want something like this that you can scuff the panel down, give it a little bit of tooth so the paint can stick really well. You want to make sure that you have good masking and masking paper that’s not going to leak. Also, you want to have some type of a tack cloth to wipe off between every coat of paint, so that you’re not getting any dirt or any kind of stuff imbedded in the paint. If you’re doing a large panel, spray fatigue is real. Your finger will get very tired, so something like this that clicks onto the can to give you a trigger instead of spraying like this is going to make it a lot easier.
Now, we’re going to show you a couple of techniques on that panel. We’re going to get it hung up, show you how to avoid orange peel, tiger stripes, and just get a really nice even coat of paint on the panel. So, let’s get that set up.
So, we’ve got our panel hung, masked and ready to prep. So, the first thing I’m going to do is we’re going to use this 2k paint right here, and I’m going to pop this out, turn it over, and get this activated so we’re ready to spray when the panel’s ready.


Now, while that activates and that chemical circulates in there, we’re going to prep this panel. And to do that, we’re going to use this scotch-brite pad. Now, this panel already has a black sealing primer on it, but you have to scuff it and put your top coat on it. So, that’s what we’re going to do now. This is the equivalent to about a 320. You don’t want to go too aggressive, you just want enough to add a little bit of a bite.
Whenever you wipe down the panel, you want to make sure you’re using lint-free rags. You don’t want to use a microfiber or a shop rag because it will leave stuff behind on the panels that you won’t see until you go to spray it. When you spray a panel with rattle cans, the most important thing is to make sure that you have a 50% overlap with your spray pattern. If you don’t, you’ll get these negative spots between the coats, and that’s called zebra patterning.
So, as you can see, we’ve got a nice professional result, with rattle cans, that you can get in your own home. You follow these simple techniques, avoid zebra striping, and a good prep on the panel, and you’re golden. As always, if you have any questions or comments, hit us up right here, at MotorWeek.