Powder Coating
A traditional paint finish is great protection, but it’s not always the best for some automotive components, like those that really feel the heat. That’s where powder coating comes in. It’s durable, heat resistant and looks great… and you can do it yourself, as Logan McCombs shows us on MotorWeek’s “Your Drive!”
LOGAN MCCOMBS: Personalizing your car can take many forms: Aftermarket wheels, exhaust systems, engine tuning, and custom paint, upholstery or graphics. One popular method is to powder coat brake calipers or various components under the hood like turbos, air intake tubing or even intercoolers. Powder coating provides a durable finish that won’t scratch easily, stands up to the heat, and can give a pop of color to an otherwise dull engine bay. The best part is, you can do it yourself and get great results with a little bit of practice and not a lot of cash.
Eastwood Tools offers this DIY powder coating kit, along with dozens of powder colors and all of the accessories you’ll need to get started. We’re going to show you how easy the process can be.
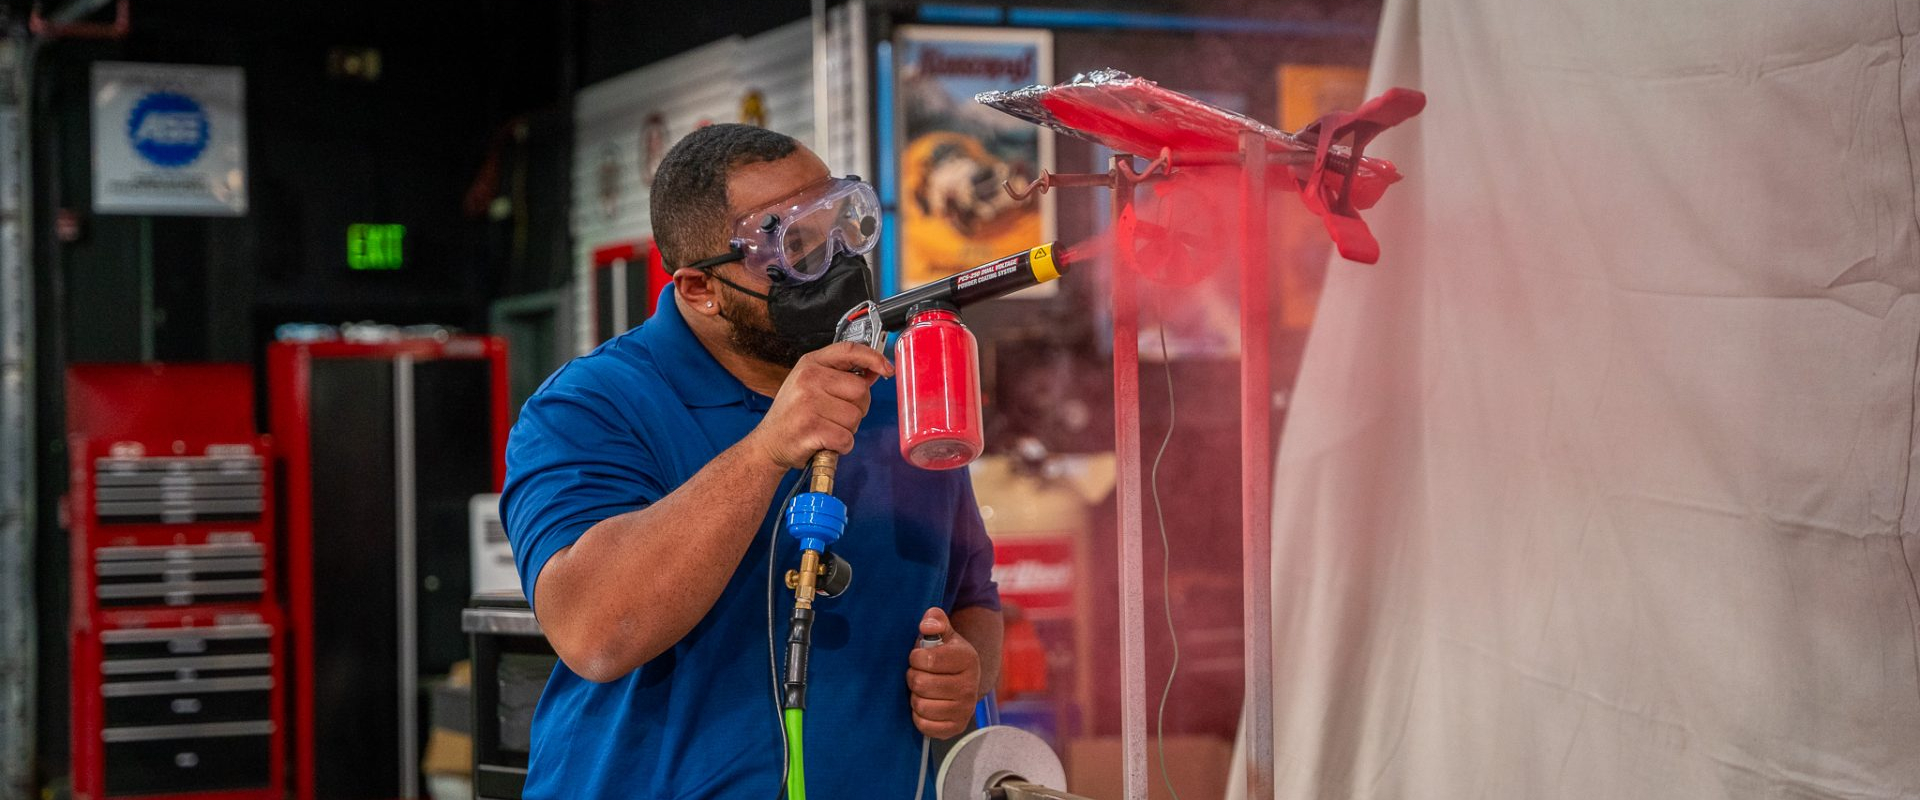
Like the name suggests, powder coating involves misting a fine colored powder over the part. The particles are electrostatically charged and the part is grounded, so the powder is actually attracted to the part, ensuring even coverage. Then it’s baked in an oven to cure, which melts, or flows the material into a hard, even finish.
Prep work consists of removing all paint, rust, dust and residue from the metal. Lucky for us, we found these vintage tornado gas-saver gizmos in our storage room. They were unpainted and clean already, just waiting patiently for their next “as seen on tv” moment of glory. You’ll need an air compressor and an electrical outlet to operate the powder coat gun. It’s critical that your air supply is free of water, oils and contaminants, so an inline filter like this, placed close to the tool is ideal.
You’ll also need an air pressure regulator… Dial it way back to 8 psi. Activate the electric charge on the gun, blow the powder on to the part, getting in to all the cracks and corners. Then pop it into a 400-degree electric oven, not gas… Don’t use your mom’s oven at home. The fumes are slightly toxic and will definitely ruin her next batch of brownies!
Cure the part for 20 minutes, let it cool before you touch it, and voila! You’ve baked up a fresh new look for your ride! If you have any questions or comments, hit us up right here at MotorWeek.


