


Headlight Restoration


You know, driving requires most, if not all of your senses, your sight being chief among them. But even with 20/20 vision, a less than optimum pair of headlights can put you in the dark. Audra Fordin stopped by to share a DIY remedy to this common problem on MotorWeek’s “Your Drive!”
AUDRA FORDIN: Being able to see clearly at night or in poor conditions is absolutely vital to your safety, as well as the safety of others. And that responsibility, comes down to your headlights.
Headlights were originally made of glass, and they were really easy to keep clean. But, modern plastic headlights can fog up and turn yellow- like this! I call this cataracts, and just like your actual eyes, this reduces your visibility and can cause blurred and dimmed vision on the road. Headlight cataracts can be caused by a number of factors: moisture, road damage and, of course, the most common is exposure to the sun’s rays.
Regardless, there are ways to fix or temporarily relieve the issue, like headlight polish and a restoration kit. Every kit is going to have a different set of materials and directions; but, here’s the general overview.


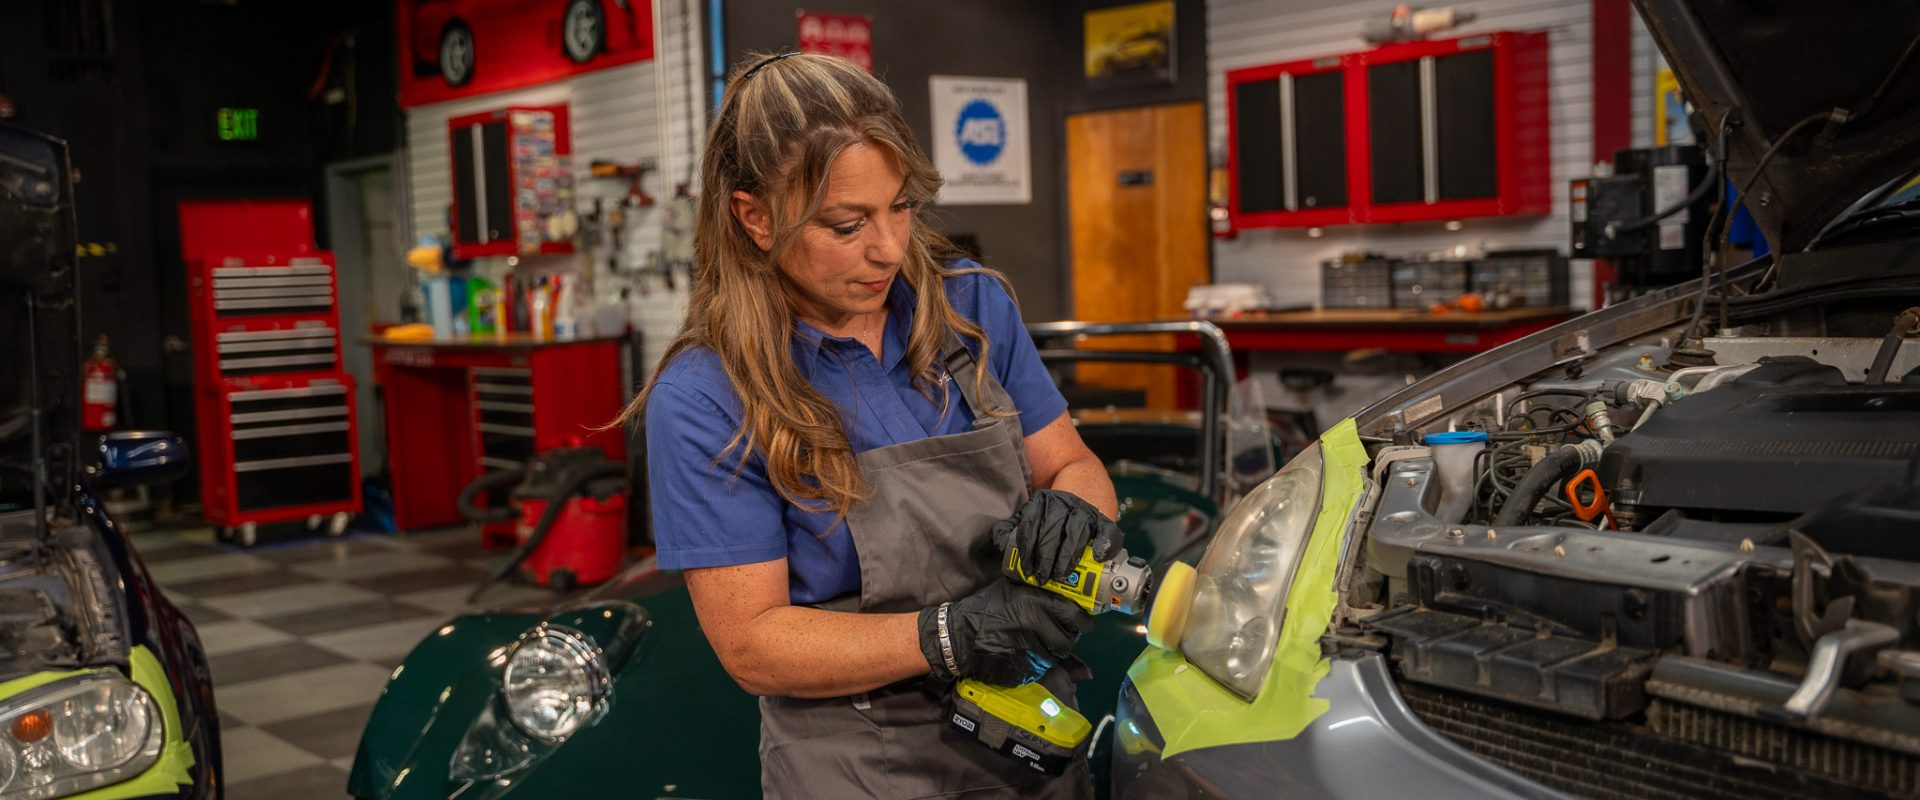
First, if the headlight is not off your car, mask around the area around that headlight. It is always good practice to keep chemicals from painted parts of the car– and from yourself! Wear gloves and maybe even an apron. Next, clean the headlight area of any major dirt and debris. Use soapy water, bug and tar remover– whatever works.
There are two ways to approach polishing the lights: I like to start with plastic polish. You can apply this with a buffer, or a microfiber cloth or a handheld pad. For more stubborn areas, you can move up to wet sanding with very low abrasive sandpaper discs, we’re talking 3000, 5000, up to 10,000 grit. The higher the number, the less aggressive the sandpaper is. Now, spray down the lens with the soapy water. Using the sanding pad to buff the surface, starting with your lowest number and working upwards. After a few rounds of this, you’ll apply a polish or clarifying compound and give it a final buff.
This is where the results really start to shine through… you should end up with something like this! Nice and clear, ready for the road. Keep in mind, this won’t be a permanent fix. Over time, UV and other elements will take their toll again, and the headlight lens will eventually need to be replaced. If you have any questions or comments, reach out to us, right here at MotorWeek.