Body Filler
We’re back under the lights at Giuseppe’s garage. This time, our young blood car tech is relaying his training in the art of proper body repair and restoration on MotorWeek’s “Your Drive!”
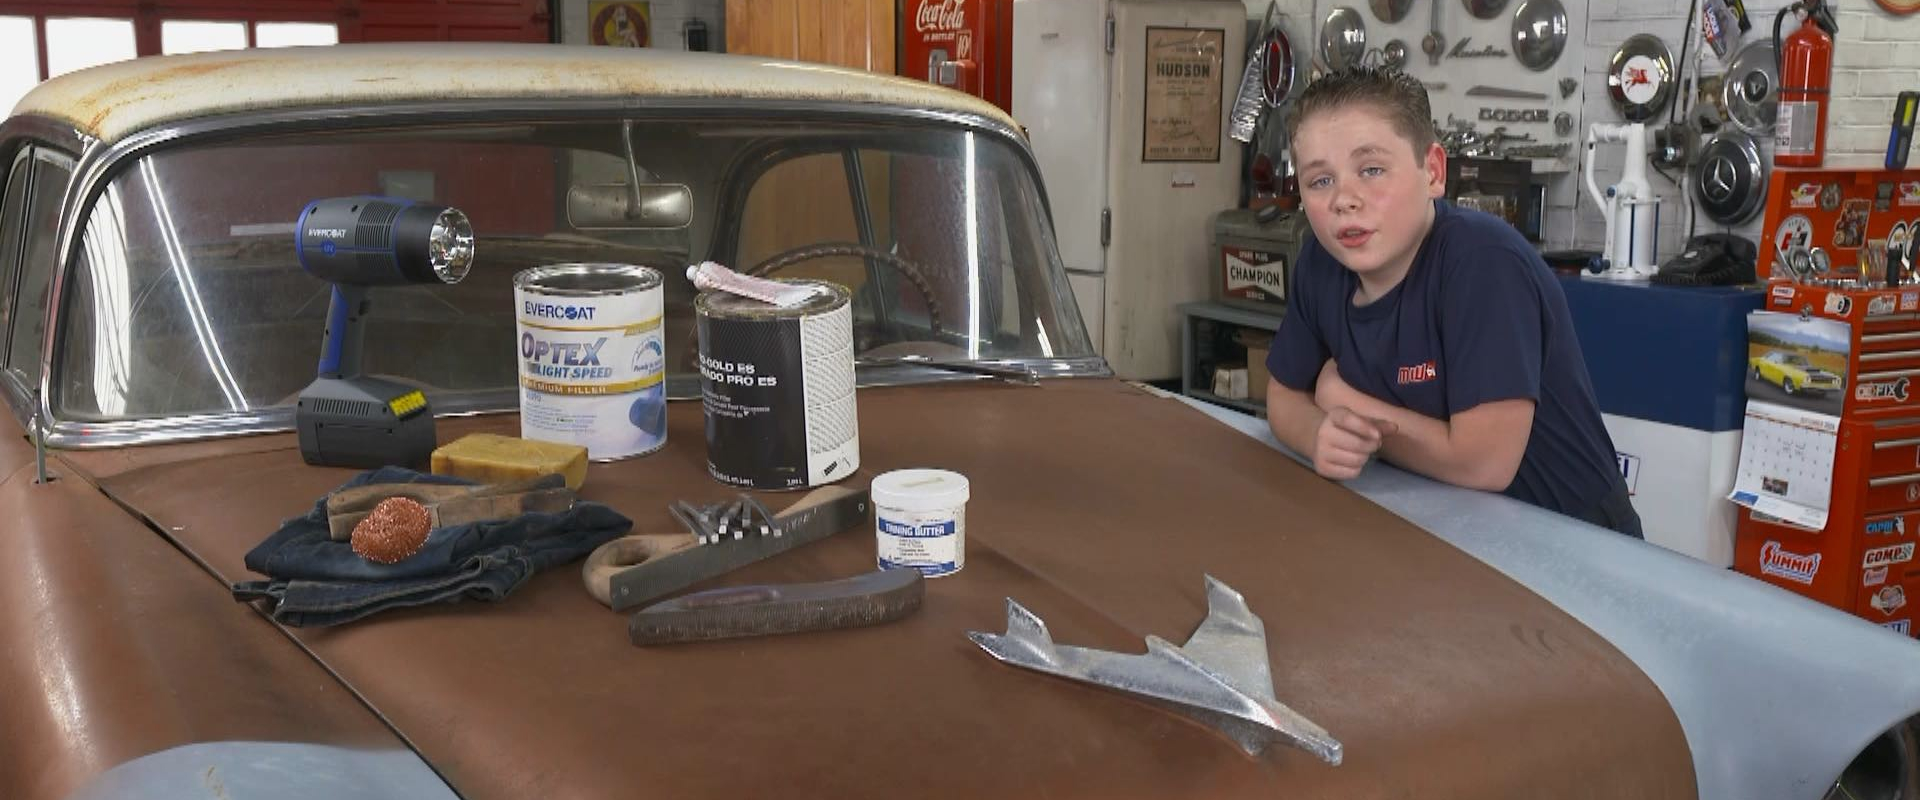
GIUSEPPE IATAROLA: One of the first skills I learned in my dad’s shop was how to apply body filler. Today I’m going to show you the different types of filler and how it has changed over the years.
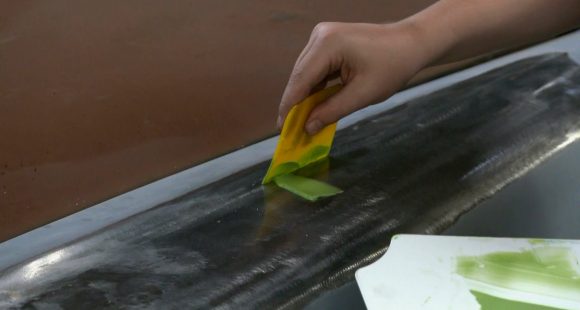
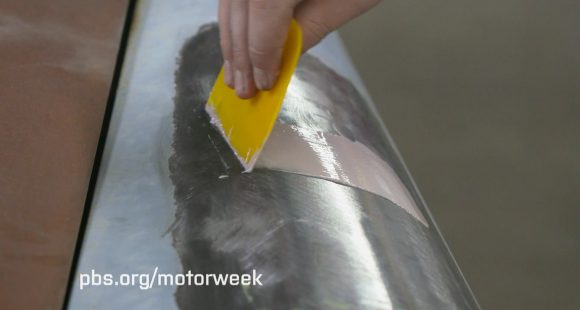
When a car has damaged body parts, it’s hard to get it perfect just by pulling the dent or straightening the metal, so filler is used to level up any low spots and smooth out the surface before the part is repainted.
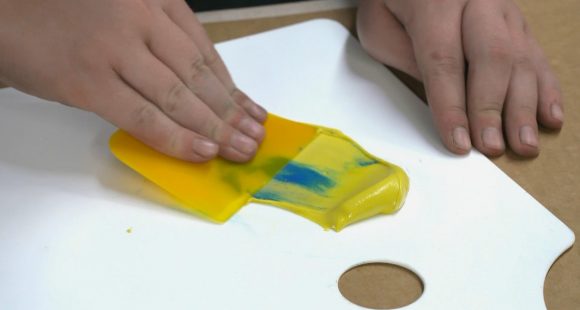
In 1955, polyester resin body filler was introduced, and it’s still used today. Some types are reinforced with metal or fiberglass, and there’s even fillers made to use on plastic parts. Most are a two-stage product, meaning that you have to mix together a hardener liquid with the base filler to make a putty. This gets spread on to the car and hardens after a few minutes, then it can be sanded smooth.
Body filler sometimes has a bad reputation for being shoddy workmanship, but that’s from lazy people who use it to cut corners. Fillers are only meant to be a quarter-inch or less deep, just to level the surface, not to fill a huge dent! It’s important to make sure the repair area is free of rust. You can’t just shove body filler in a rusty hole and expect it to last.
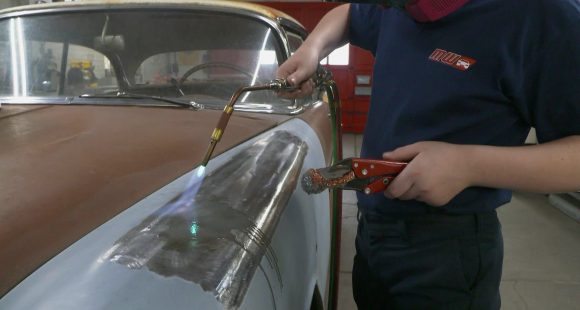
Back in the old days, hot lead or lead mixed with tin was the only way to go to repair metal. This is my favorite method because I fix so many classic car projects, and for me, nothing is better than fixing metal with metal.
Lead has a low melting point, it’s very strong, and is great for fixing body seams and welded joints. But not many shops use this technique anymore because it can be time-consuming and the fumes and dust can be very dangerous to your skin, eyes and lungs. Plastic body fillers are quicker, cheaper and easier to work with than lead, but it doesn’t hold up to heat as well, and can crack over time.
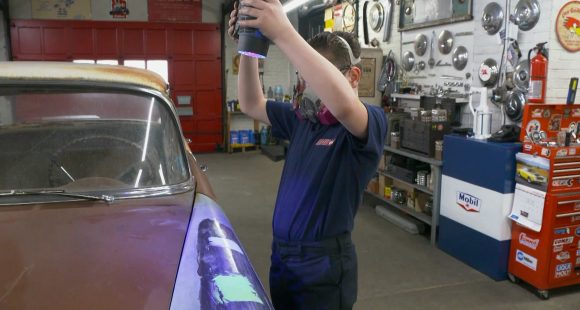
More recently, a UV-cured filler has been developed. These use a special light to help the filler cure or dry completely. This can get the job done faster, but you have to be very careful to use the light for the required time or else you may have adhesion problems.
Well, you got to make sure your UV light is completely charged, otherwise the speediness of your repair is lost.
If you have any questions or comments, reach out to us here at MotorWeek.


